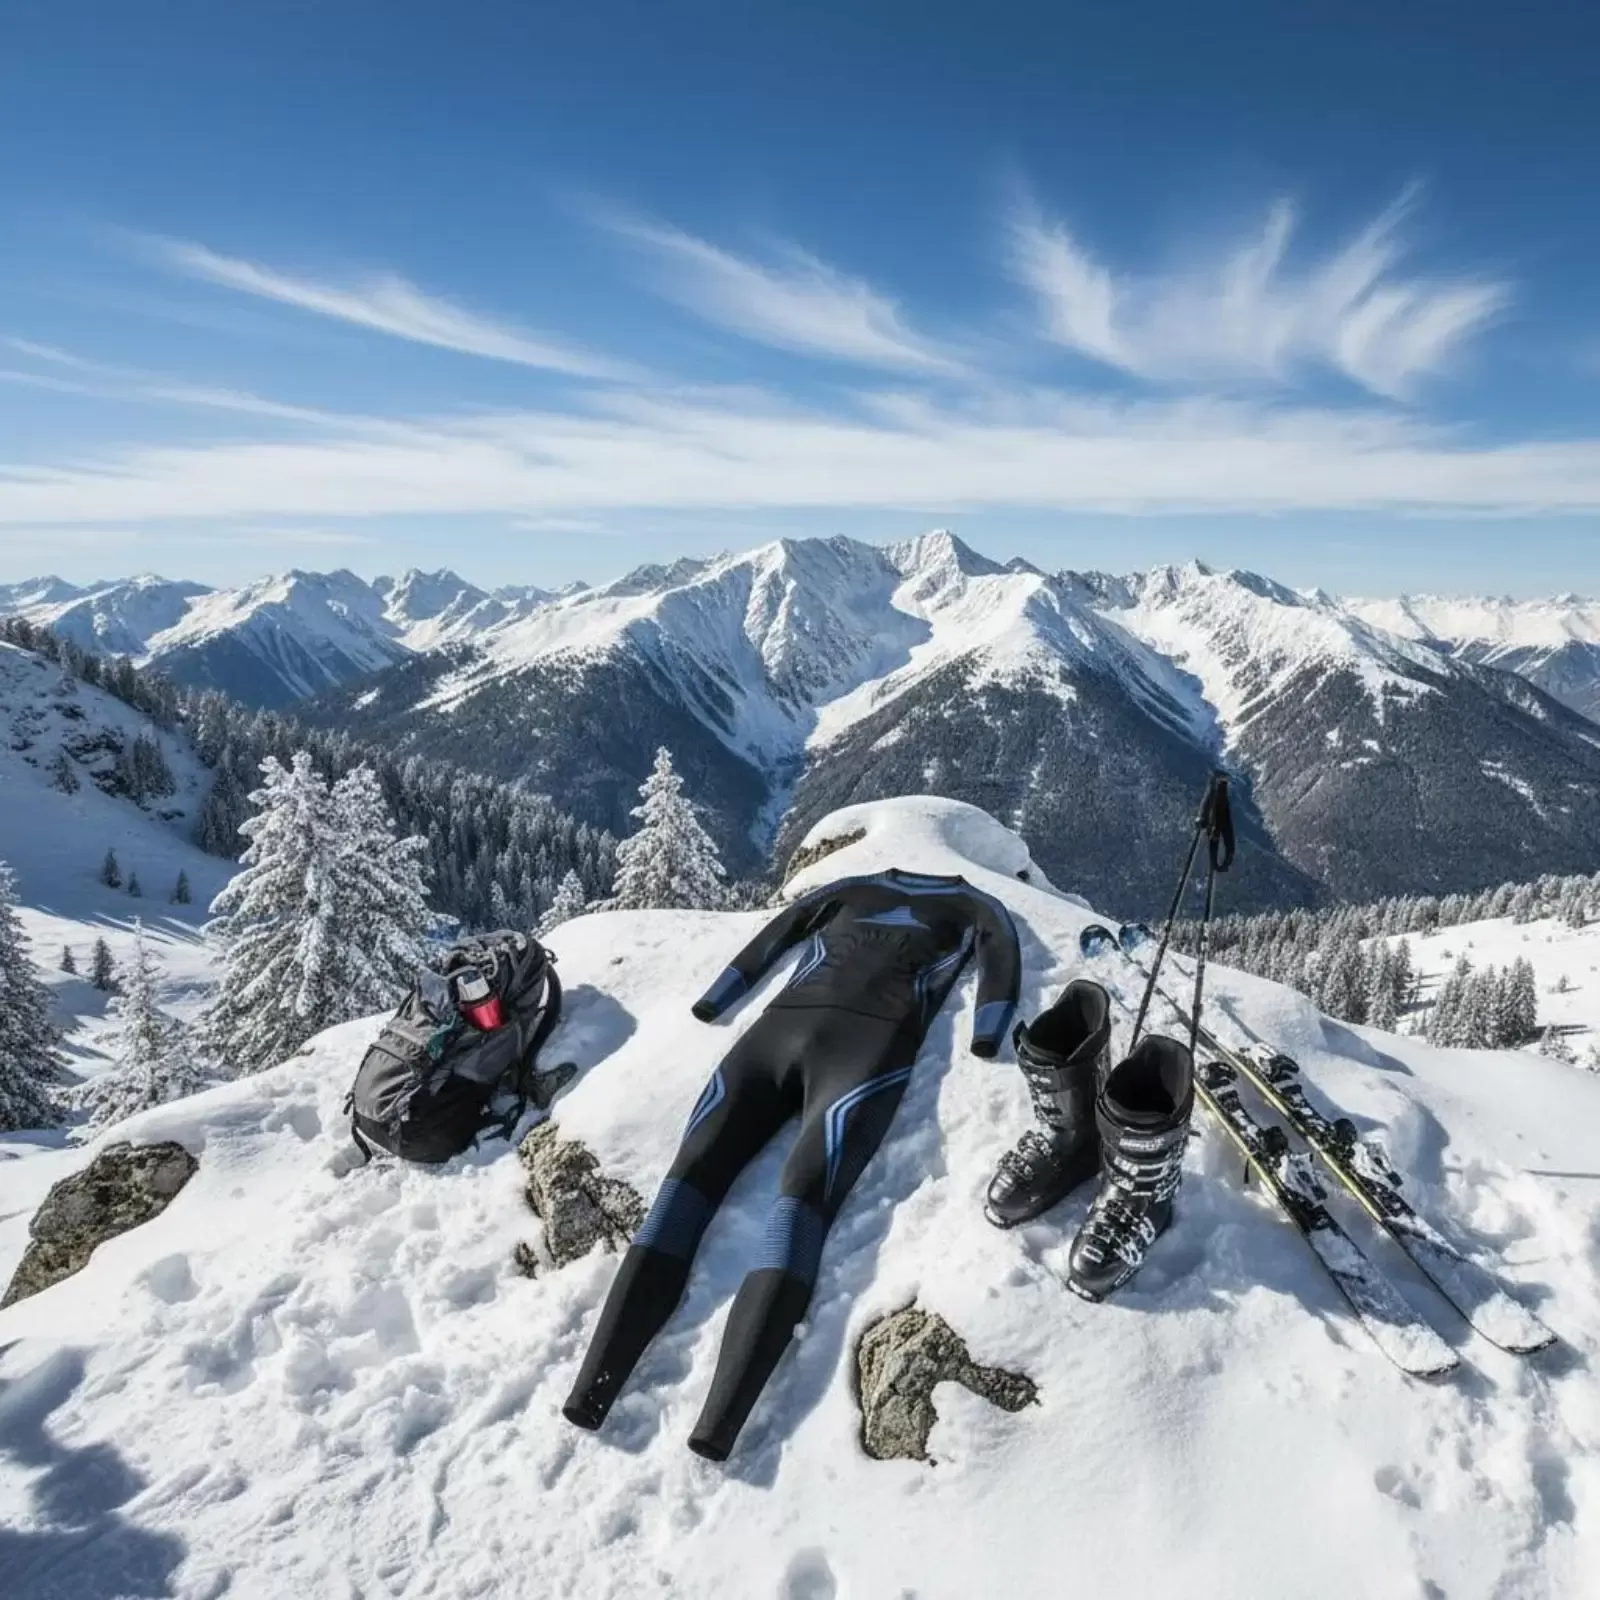
Plan around daylight, wind and the way down
The route that feels like an easy afternoon in June behaves differently in December. You have fewer hours of light, snow or mud slows your pace, and a minor problem such as a twisted ankle becomes serious because you stop generating heat the moment you stop walking. Winter planning is mostly about building back the margin that the season takes away.
Before you pack, check four things. Look up the sunset time and remember that deep valleys and north facing slopes lose light earlier than the clock suggests. Read the forecast for wind and precipitation as well as temperature, because wind and wet are what make cold dangerous. Check trail conditions with the local park or land manager, since a path that is clear at the car park can be icy higher up. If your route crosses steep snow slopes, check the regional avalanche forecast and treat that terrain as a separate skill that needs proper training.
Then set a turnaround time and keep to it, whether or not you have reached the summit. Tell someone where you are going and when you expect to be back, and agree what they should do if they do not hear from you.
What to wear when you leave the car
Dress in three working layers: a moisture moving base layer, an insulating mid layer and a wind and water resistant shell. You should feel slightly cool for the first ten minutes of walking, because that is the setting that keeps you from soaking your base layer with sweat on the first climb. Look through winter thermal clothing for base layers, and read the full explanation of the system in the winter layering guide.
Hands, feet and head need their own plan. Wear wool or synthetic socks that rise above the boot collar, never cotton. Start in a thin glove and keep a warmer pair ready for breaks, as explained in the guide to cold weather gloves. A hat and something to cover your neck weigh very little and let you fine tune your warmth without taking your pack off.
The winter day pack checklist
This list assumes you already carry your usual day hike basics. It focuses on what winter adds and why.
| Group | Items | Why it matters in winter |
|---|---|---|
| Stop warmth | Insulated jacket, spare gloves, spare socks, hat | You lose heat fast when you stop, and sweaty items stop insulating |
| Food and drink | Insulated bottle, hot drink, snacks that stay chewable | Eating and drinking is how you keep producing heat |
| Light | Headlamp, spare batteries or charged power bank | A short delay can put you on the trail after dark |
| Navigation | Paper map, compass, offline map on your phone | Snow hides paths and trail markers |
| Safety | First aid kit, emergency bivy or blanket, whistle, fire starter | These buy you time if someone cannot keep walking |
| Tools | Multi-tool, repair tape, spare cord | A broken strap or buckle is harder to fix with cold hands |
| Terrain and sun | Traction devices or poles if conditions call for them, sunglasses, sunscreen | Ice causes falls, and snow reflects a lot of light |
| Dry storage | Small dry bag for spare clothes and electronics | Your spare layer only helps if it is actually dry |
The longer version of this list, covering all seasons and overnight trips, is in the camping and hiking gear checklist. For the emergency items, the guide to survival kit essentials explains what each one is for, and you can compare options under survival gear and tools.
Water and food that do not freeze
Cold reduces the feeling of thirst, so people often drink less than they need and only notice when they feel tired. Set a habit of drinking at every break. Hose systems are the first thing to fail, because the narrow tube freezes well before the reservoir does. If you use one, blow the water back into the bag after each sip, and think about switching to a bottle on very cold days.
An insulated bottle solves most of this. Preheat it with boiling water for a few minutes, empty it, then fill it with a hot sweet drink, and you have warm calories available at every stop. The guide to insulated bottles and thermoses covers what to look for, and the range is under thermoses and insulated bottles. Food matters as well. Many bars turn hard as stone in the cold, so keep your snacks in an inside pocket and eat small amounts often, rather than waiting for one long lunch stop in the wind.
Phones, batteries and navigation in the cold
Lithium batteries lose usable capacity as they get cold, and a phone showing plenty of charge can shut down suddenly on an exposed ridge. Keep your phone in an inside pocket close to your body, download your maps before you leave and switch to airplane mode when you do not need a signal. Treat the phone as one tool and not the whole plan. A map and compass do not depend on temperature, and the basics are covered in compass and land navigation basics. Keep headlamp batteries warm too, and test the lamp before you leave home. A rechargeable model from the rechargeable headlamps range is easy to top up the night before.
Cold warning signs to act on early
This is general guidance and not a replacement for a first aid course, which is well worth taking if you hike in winter. Watch your partners as well as yourself, since a person getting cold is often the last to notice it.
- Early hypothermia: strong shivering, clumsy hands, stumbling, slurred speech, poor decisions or a change in mood. Stop, get out of the wind, replace wet layers with dry ones, add insulation and offer food and a warm sweet drink if the person is fully alert.
- Severe signs: shivering that stops, confusion or drowsiness. Treat this as an emergency, insulate the person from the ground, handle them gently and call emergency services.
- Frostnip and frostbite: numb skin that looks white, grey or waxy, usually on fingers, toes, nose or ears. Warm the area gently against warm skin, do not rub it, and get medical care for anything beyond a brief surface chill.
Save the local emergency number in your phone before you go. The guide to a first aid kit for the trail covers what to carry.
Scaling the list up or down
Not every winter walk needs every item. A busy, low altitude loop close to the road with a good forecast can run on a lighter kit. A remote route, a solo trip or a day with a big weather swing justifies all of it, plus a more serious shelter. A useful test is to ask what would happen if you had to sit still for two hours waiting for help. If the answer is that you would be dangerously cold, add insulation until the answer changes. Packing everything into a suitable backpack with a little spare room also makes it easy to stow layers as you warm up, and you are more likely to adjust your clothing when doing so is easy.


